Send Data
For mapped fields that allow it, a SmartDox document can send data to the ProLink application to be saved in the ProLink database using the Send Data feature. Users can enter and save data into mapped fields, and after clicking the Send Data button, the updated data will be reflected in the web-based ProLink application when the page is refreshed. Once the data has been sent to the ProLink application, a record of the document itself will be stored in the Files area of the deal or property record.
Update data in the SmartDox document.
Tip
If you cannot update form fields in a document, check with the template owner to make sure the template has been protected.
Click the ProLink option in the menu bar of Microsoft Excel or Word.

Microsoft Excel

Microsoft Word
Click Send Data in the ProLink menu.
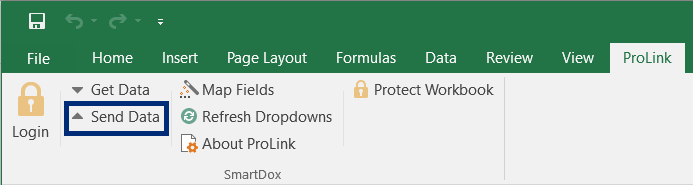
If the document is not logged into the ProLink application, the Login window opens. Log in using an appropriate username and password.
A SmartDox document must be associated with a particular record from the ProLink database. This might be a specific project, business deal, investment, property, or other record type in the ProLink application. Once associated, the SmartDox document can send the data to the ProLink application. If the SmartDox document is not already associated with a particular record in the ProLink application, a Search window opens and allows for an appropriate record to be located.
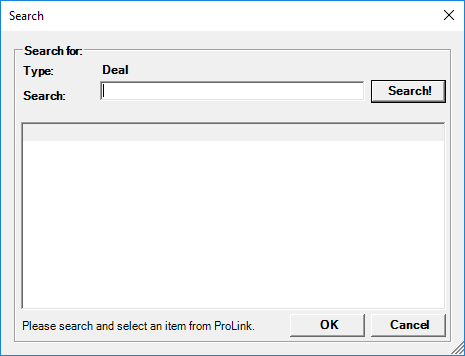
Enter keywords to search into the Search field of the Search window. Click Search, and a list of records that match the keywords are returned. Only the first 2,000 matching search results are displayed. Select the desired record and click OK. Alternatively, double-click the desired record. The selected record will be associated with the document. In the future, only the selected record and its associated data will be sent to the ProLink application.
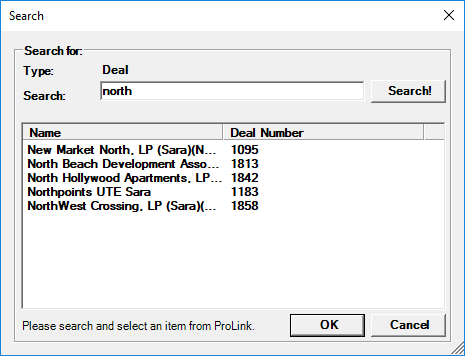
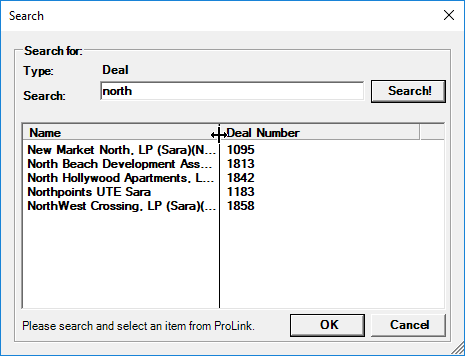
Tip
You can adjust the size of the window—horizontally and vertically. You can also adjust the size of a specific column by selecting the vertical line at the end of the specific column and moving to the right or left.
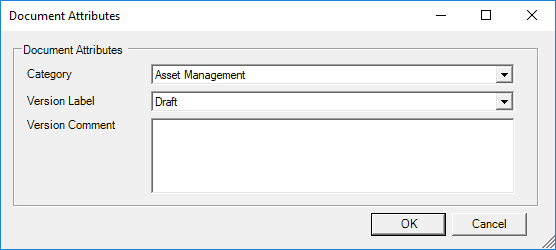
After the document is associated with a database record, the Document Attributes window opens.
Select or enter the appropriate values in this window.
Category—The document classification.
Version Label—A label for the version of the document.
This is blank and is not required.
Comment—Descriptive text regarding the document.
Click OK, and the document sends the data to the ProLink application.